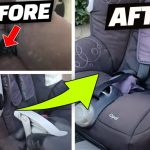
Do you want to make your car seats look better? Or do you want to protect your seats from dirt and damage? Sewing your own car seat covers is a good idea. It can save money and give you a cover that fits well.
In this guide, you will learn how to sew seat covers for your car. The steps are easy to follow. You do not need to be an expert in sewing. Just follow the instructions and take your time.

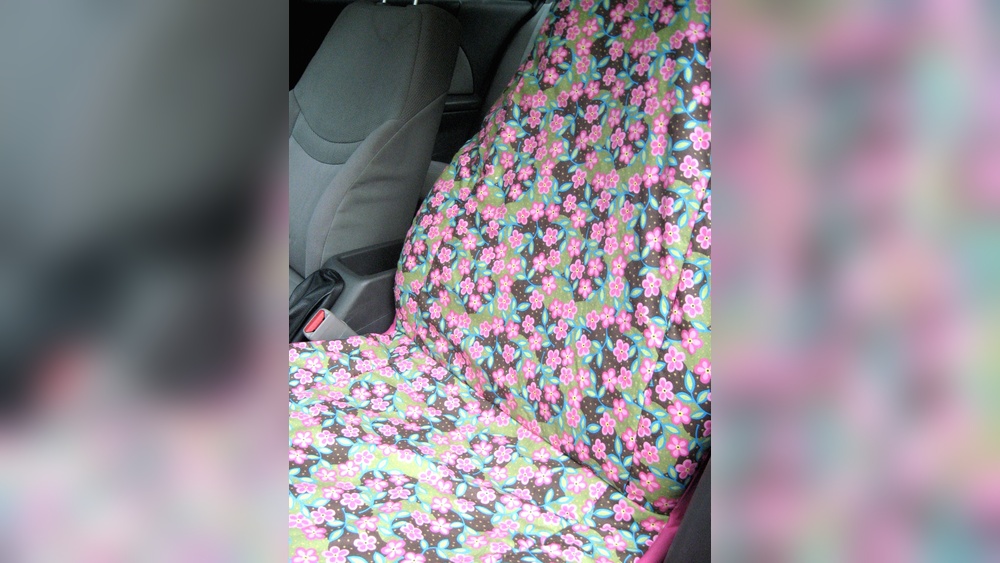
Credit: www.lovetoknow.com
What You Need Before You Start
Before you sew, get these materials ready. It will make your work easier.
- Fabric: Choose a strong and easy-to-clean fabric. Canvas, denim, or polyester works well.
- Measuring Tape: You need this to take the right size of your seats.
- Scissors: Use sharp scissors to cut the fabric neatly.
- Thread: Pick a thread that matches the fabric color and is strong.
- Needle or Sewing Machine: A sewing machine makes work faster, but you can sew by hand too.
- Chalk or Fabric Marker: For marking the fabric before cutting.
- Pins: To hold the fabric pieces together while sewing.
- Zippers or Velcro: Optional, but good for making covers easy to remove.

Credit: www.youtube.com
Step 1: Measure Your Car Seats
First, measure your car seats carefully. You need to know the size of the seat bottom and back.
Measure the width, depth, and height of each seat part. Write down all the numbers.
Remember to add a few extra inches for seams and folds. This will help you cut the fabric right size.
Step 2: Make a Pattern
Use paper or newspaper to make a pattern. This is a shape you will use to cut your fabric.
Cut the paper to match the size of each seat part. Mark where the seams will go.
Try putting the paper pattern on the seat to see if it fits well.
Step 3: Cut the Fabric
Lay your fabric on a flat surface. Put the paper patterns on the fabric.
Use chalk or fabric marker to trace the pattern. Make sure to mark clearly.
Cut the fabric pieces carefully along the lines. Keep the edges clean.
Step 4: Sew the Pieces Together
Now, start sewing the fabric pieces. Put two pieces together with the right sides facing each other.
Pin the edges to hold them in place. Sew along the edge with a straight stitch.
Remember to leave some space open if you want to add zippers or Velcro later.
Sew all parts of the seat cover. This includes the seat bottom and the backrest.
Step 5: Add Zippers or Velcro (Optional)
Adding zippers or Velcro helps remove covers easily. It also makes cleaning simpler.
Sew zippers along the edges where you left space open. Or sew Velcro strips to the edges.
Make sure the zipper or Velcro works well before finishing the sewing.
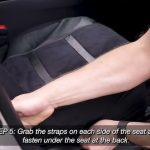
Step 6: Fit the Cover on the Seat
After sewing, put the cover on the car seat. Check if it fits snugly and covers all parts.
If the cover is loose, you can adjust it by sewing tighter seams.
Make sure the cover does not move when you sit. It should stay in place for safety.
Step 7: Final Touches
Trim any loose threads. Iron the cover if needed to remove wrinkles.
Clean your work area and enjoy your new seat covers.
Tips for Better Seat Covers
| Tip | Why It Helps |
|---|---|
| Use waterproof fabric | Keeps seats dry and clean from spills |
| Double stitch seams | Makes covers stronger and lasts longer |
| Choose dark colors | Hides dirt and stains better |
| Measure twice, cut once | Prevents mistakes and fabric waste |
| Test fit before final sewing | Ensures the cover fits well |
Why Sew Your Own Seat Covers?
Buying seat covers can be expensive. Ready-made covers may not fit well.
Sewing your own covers lets you choose fabric and color. You get a custom fit.
You can also repair or replace covers easily in the future.
It is a fun and useful project. Plus, it makes your car look nice.
Common Problems and How to Fix Them
- Cover too big: Sew tighter seams or add elastic bands.
- Cover slips off: Add Velcro or straps to hold it.
- Fabric tears: Use stronger fabric or double stitch the seams.
- Zipper stuck: Lubricate zipper or sew a new one carefully.
Summary
Sewing seat covers for your car is easy with the right steps.
Measure your seats, make a pattern, cut fabric, and sew pieces together.
Add zippers or Velcro if you want easy removal. Fit the cover and make changes if needed.
Use strong fabric and take your time. Your car seats will look great and stay protected.
Try this project and enjoy a fresh new look for your car!
Frequently Asked Questions
How Do I Choose Fabric For Car Seat Covers?
Pick durable, easy-to-clean fabric like leather, vinyl, or heavy cotton for long-lasting seat covers.
What Tools Are Needed To Sew Car Seat Covers?
Basic tools include fabric scissors, sewing machine, thread, measuring tape, and pins.
How To Measure Car Seats For Seat Covers?
Measure width, height, and depth of each seat accurately before cutting fabric.
Can I Sew Seat Covers Without A Sewing Machine?
Hand sewing is possible but takes longer and may not be as strong.

Sudatta is a passionate automotive enthusiast and expert in the field. With a keen eye for detail and a love for all things automotive, he shares insightful articles and reviews to ignite the automotive passion in readers.