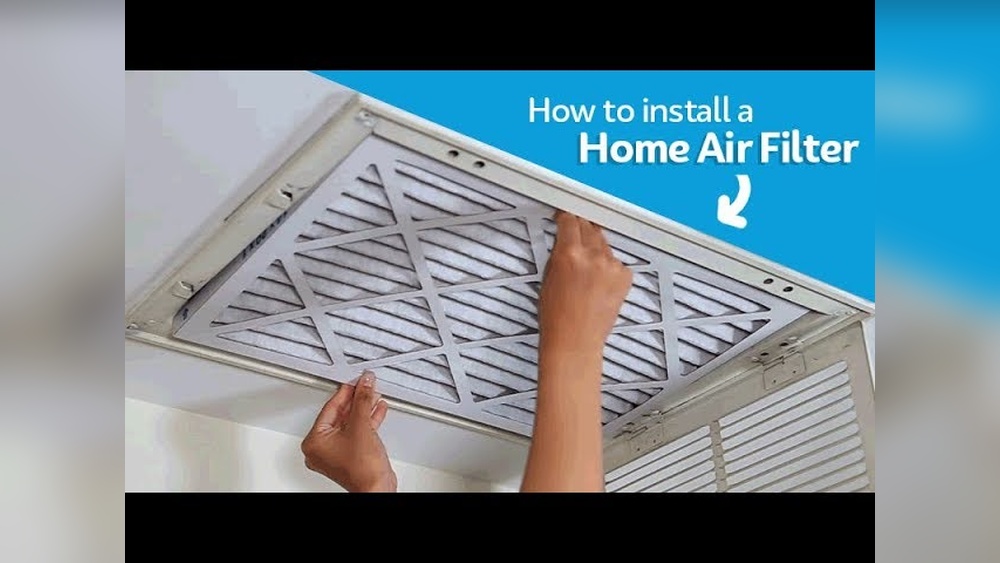
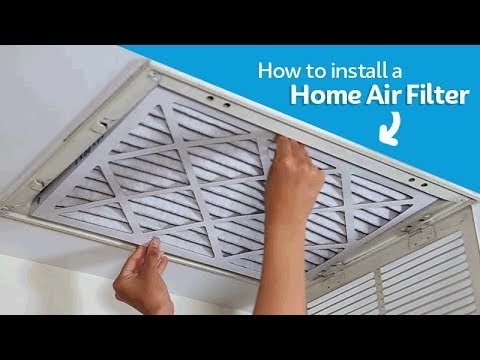
Air filters help clean the air inside your home. They catch dust, dirt, and pollen. This makes the air fresher and healthier to breathe.
Installing air filters is easy. You do not need special tools or skills. In this guide, you will learn how to install air filters step by step.
Why Should You Install Air Filters?
Air filters keep your home clean. They help the heating and cooling system work well. When the air filter is dirty, the system has to work harder.
This can use more energy and cost more money. Clean air filters save energy. They also help people who have allergies or asthma.
Types of Air Filters
There are many kinds of air filters. Some are thin and simple. Others are thick and have more layers. The most common types are:
- Fiberglass filters: These are cheap and basic. They catch big dust and dirt.
- Pleated filters: These have folds. They catch smaller particles like pollen.
- HEPA filters: These catch very tiny particles. They are best for allergy sufferers.
- Electrostatic filters: These use static electricity to trap dust.
Choose the right filter for your home and system. Check the size you need before buying.
Tools and Materials Needed
You do not need many tools. Most people only need a few things:
- New air filter (correct size)
- Flashlight (optional, to see inside)
- Gloves (optional, to keep hands clean)
Make sure you buy the right size filter. Look for the size printed on the old filter or the system.
Step 1: Turn Off the System
Before you start, turn off your heating or cooling system. This is important for safety. It also stops dust from moving while you work. Find the switch or power button and turn it off.
Credit: www.hencolin.com
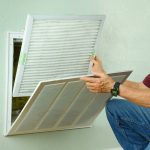
Step 2: Locate the Air Filter
Find where the air filter is inside your system. It is usually near the air return vent or blower.
The air return vent is a large vent that pulls air into the system. Sometimes the filter is behind a small door or panel. Use a flashlight if it is dark.
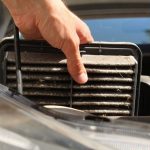
Step 3: Remove the Old Filter
Open the panel or door carefully. Take out the old filter slowly. Check how it fits in the slot. Look at the filter’s edges. Notice the arrows or labels on it.
These arrows show the direction of airflow. It is important to put the new filter the same way.
Step 4: Check the Old Filter
Look at the old filter. Is it dirty or dusty? If yes, you did the right thing by changing it. If it looks clean, you might not need to change it now. But changing the filter every 1 to 3 months is good practice.
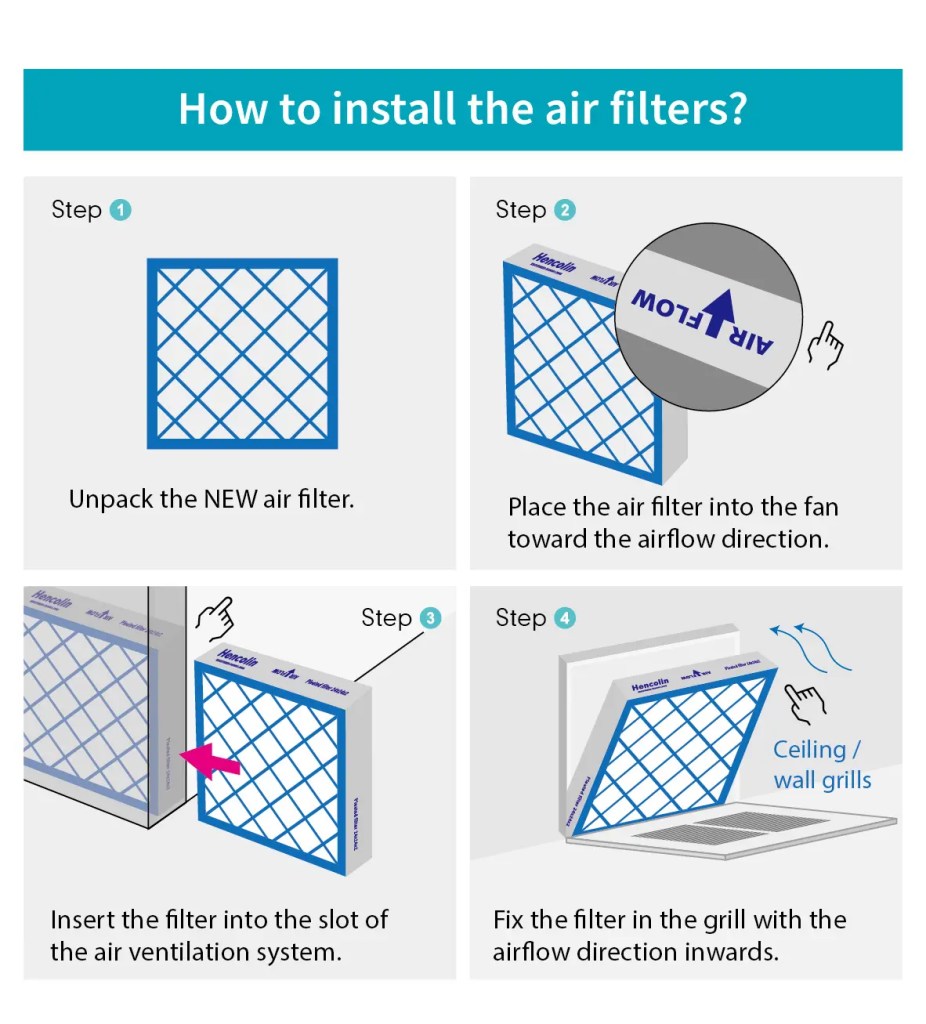
Step 5: Insert the New Filter
Take the new filter out of its package. Check for the arrows or airflow labels. Insert the filter with the arrows pointing the right way. Usually, arrows point toward the furnace or air handler.
Push the filter gently into the slot. Do not force it. Make sure it fits snugly without gaps. A good fit stops air from passing around the filter.
Step 6: Close the Panel or Door
Close the filter panel or door securely. Make sure it is locked or latched. This keeps the filter in place and stops air leaks.
Step 7: Turn the System Back On
Turn your heating or cooling system back on. Listen to see if it works normally. Check for any strange sounds. If all is well, your new filter is working.
Credit: www.youtube.com
Tips for Maintaining Air Filters
- Change filters regularly, every 1 to 3 months.
- Check the filter monthly, especially in dusty places.
- Use the filter size recommended by your system’s manual.
- Keep the area around the air return clean.
- Use higher quality filters if you have allergies.
Regular filter changes help your system last longer. They also keep your home air fresh.
Common Mistakes to Avoid
- Installing the filter backward. Always follow the arrows.
- Using the wrong size filter. It can cause leaks and reduce efficiency.
- Waiting too long to change filters. Dirty filters slow down airflow.
- Forgetting to turn off the system before starting.
Fix these mistakes to keep your system working well.
Signs You Should Change Your Air Filter
How do you know if your filter needs changing? Look for these signs:
- Dust builds up quickly on furniture and floors.
- Your heating or cooling system runs longer than usual.
- You or your family have more allergy or asthma problems.
- The filter looks dirty or clogged.
Changing the filter can help fix these problems fast.
Summary: Installing Air Filters
| Step | What to Do |
|---|---|
| 1 | Turn off the heating/cooling system |
| 2 | Find the air filter slot |
| 3 | Remove the old filter carefully |
| 4 | Check if the old filter is dirty |
| 5 | Insert the new filter with arrows in correct direction |
| 6 | Close the panel securely |
| 7 | Turn the system back on and check operation |
Final Thoughts
Installing air filters is simple and helps your home. Clean air filters save energy and keep air fresh. You do not need to be an expert.
Follow these steps and keep your system in good shape. Remember to change filters often. Your family will breathe better, and your system will last longer.
Frequently Asked Questions
How Often Should Air Filters Be Replaced?
Air filters should be replaced every 3 months or according to the manufacturer’s guide.
What Tools Do I Need To Install Air Filters?
Most air filters require no tools; some may need a screwdriver for the cover.
Can I Install Air Filters Myself Safely?
Yes, installing air filters is easy and safe for most home systems.
How Do I Know The Right Size Air Filter?
Check your current filter or the device manual for the correct size.

Sudatta is a passionate automotive enthusiast and expert in the field. With a keen eye for detail and a love for all things automotive, he shares insightful articles and reviews to ignite the automotive passion in readers.